How I Built This Blog: The Modern Serverless Tech Stack

How I Built This Blog: The Modern Serverless Tech Stack

When I decided to revamp my blog, I wanted a setup that was fast, cost-effective, and easy to maintain. But more importantly, I wanted to experiment with a fully AI-assisted development workflow.

This blog isn’t just hosted on the cloud—it is maintained and evolved by an AI Agent.

The Core Stack

I chose a static site architecture for its speed and security.

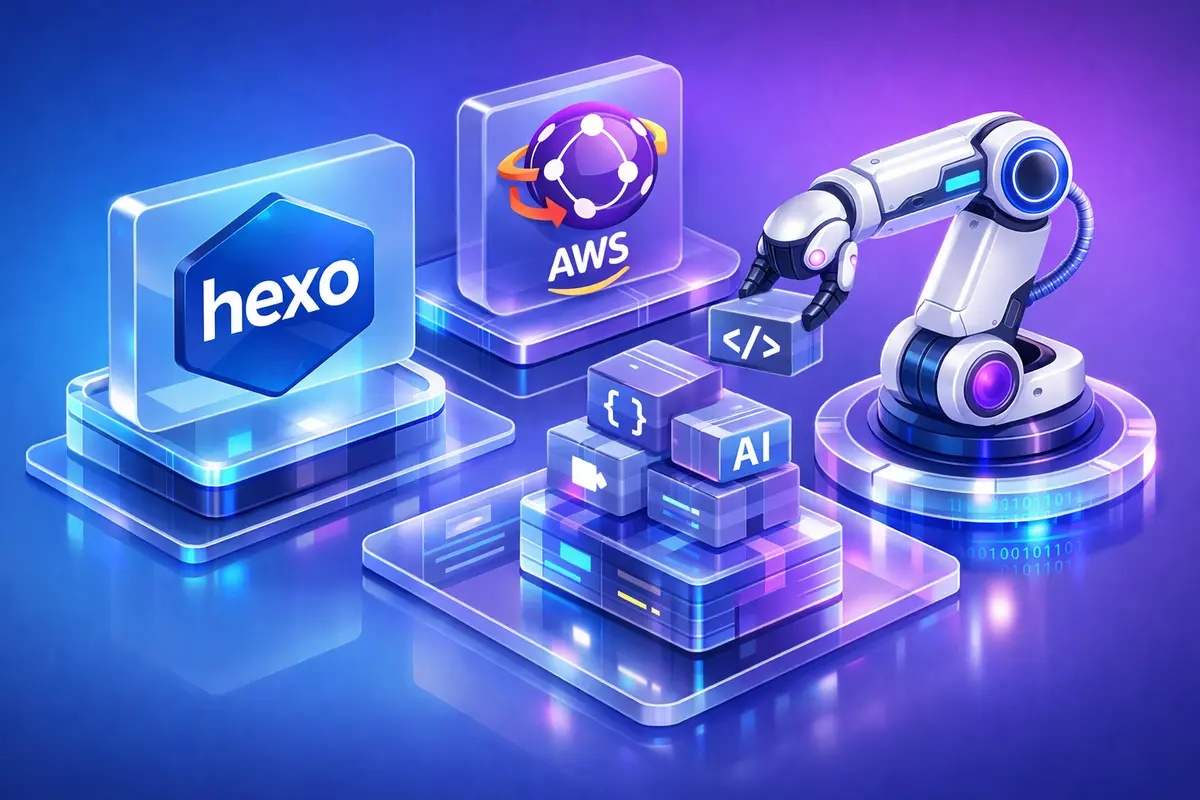
  • Engine: Hexo, a fast and simple static site generator based on Node.js.
  • Theme: Icarus, giving it that clean, professional look.
  • Storage: AWS S3 buckets to host the static HTML/CSS/JS files.
  • Delivery: AWS CloudFront (CDN) to serve content globally with low latency and SSL.
  • DNS: Amazon Route53 for domain management.

This “Serverless” setup costs practically nothing to run and scales infinitely.

The AI-First Workflow

The most interesting part isn’t the stack itself, but how it represents a new way of working. I use Google’s Antigravity, an advanced AI coding agent, to drive the development and maintenance.

Instead of manually editing config files or searching for plugins, I simply conversed with the agent:

“Implement a Sitemap and RSS feed.”
“Fix the domain verification issue.”
“Generate cover images for all my posts.”

The agent analyzed my project structure, installed the necessary plugins (hexo-generator-sitemap, hexo-generator-feed), and updated the _config.yml automatically.

AI-Generated Art

You might have noticed that every post on this blog has a unique cover image. These weren’t found on stock photo sites—they were generated on the fly by the agent using Google’s Gemini 3 Pro. I simply asked it to “scan my posts and generate relevant images,” and it handled the rest.

SEO & Discovery

To ensure this content reaches you, we implemented standard best practices:

  1. Sitemap: Automatically generated at /sitemap.xml for search engines.
  2. RSS Feed: Available at /atom.xml (link in the sidebar!) for subscribers.
  3. Performance: Minified assets and edge caching. We enabled hexo-all-minifier which reduced the total site build size from 20MB to 10MB (a 50% reduction!) primarily through intelligent image optimization. Then we further optimized by converting heavy images to WebP!

Conclusion

Building this blog was a testament to how AI agents are changing software development. We moved from concept to a fully polished, SEO-optimized, and visually rich site in a fraction of the time it would normally take.

Stay tuned for more updates on AI, Cloud, and the future of coding.

Consolidating Domains with CloudFront Functions

I recently consolidated my two separate blogs (ai.saurav.io and cloud.saurav.io) into a single unified home: blog.saurav.io.

While moving the markdown files was easy, the networking challenge took a bit more finesse. I needed to ensure that visitors (and search engines) visiting the old domains were automatically redirected to the new one, verifying path preservation.

Here is how I solved it using CloudFront Functions.

CloudFront Consolidation Architecture

The Architecture

Instead of maintaining separate CloudFront distributions or S3 buckets for redirection—which is the “old school” way—I pointed all domains to a single CloudFront distribution and handled the routing logic at the edge.

  1. CloudFront: Added ai.saurav.io, cloud.saurav.io, and blog.saurav.io as aliases (CNAMEs) to my main distribution.
  2. DNS: Updated Route53 to point all three domains to that distribution.
  3. Edge Logic: Attached a CloudFront Function to the Viewer Request event.

The CloudFront Function

CloudFront Functions are lightweight Javascript functions that run at AWS edge locations. They are perfect for header manipulation and URL redirects because they have extremely low latency and cost.

Here is the function code I used to force the redirect:

1
2
3
4
5
6
7
8
9
10
11
12
13
14
15
16
17
18
19
function handler(event) {
var request = event.request;
var host = request.headers.host.value;
var uri = request.uri;

// Check if the request is coming from one of the old domains
if (host === 'ai.saurav.io' || host === 'cloud.saurav.io') {
return {
statusCode: 301,
statusDescription: 'Moved Permanently',
headers: {
"location": { "value": "https://blog.saurav.io" + uri }
}
};
}

// Otherwise, let the request proceed to the origin (S3)
return request;
}

Why Not Just “Point” the Domains?

A common question is: “Why can’t I just add the CNAMEs to CloudFront and be done with it?”
Technically, that would serve the content. If a visitor accesses ai.saurav.io, they would see the blog. But serving content and managing identity are two different things.

Here is the critical difference between “Just Pointing” (CNAME only) vs. “Redirecting” (CloudFront Function):

Feature Edge Redirect (CloudFront Function) “Just Pointing” (No Function)
Browser URL Bar Updates to blog.saurav.io automatically. Stays on ai.saurav.io.
User Experience Visitors know they are on the new site. Visitors are confused; they see the old domain but new content.
SEO (Google) Consolidates Authority. Google transfers “link juice” from the old domain to the new one. Duplicate Content Penalty. Google sees two identical websites on two different domains, which hurts rankings for both.
Analytics Unified traffic stats under blog. Fragmented stats across ai, cloud, and blog.

Why This Approach Matches Modern Architecture

The only non-code way to achieve this would be to create three separate S3 buckets (one for content, two empty ones for redirects) and potentially separate CloudFront distributions for each.

By using a CloudFront Function, I kept the infrastructure minimal:

  • 1 S3 Bucket
  • 1 CloudFront Distribution
  • 1 Function

This approach is cleaner, easier to maintain, and ensures that my diverse technical interests in AI and Cloud are finally unified under one roof.

Built with AI

This entire migration—from identifying the conflicting aliases, writing the Python scripts, to authoring this blog post—was planned and executed using Antigravity IDE and the Google Gemini 3 Pro model. The agent figured out the complex steps, and I simply validated the plan. It turns hours of DevOps work into single commands.